2026-07-19
How to Do Custom Printing on Walls and Floors
Learn how to do custom printing on walls and floors, from artwork and surface prep to precise, low-VOC installation that makes spaces stand out beautifully.
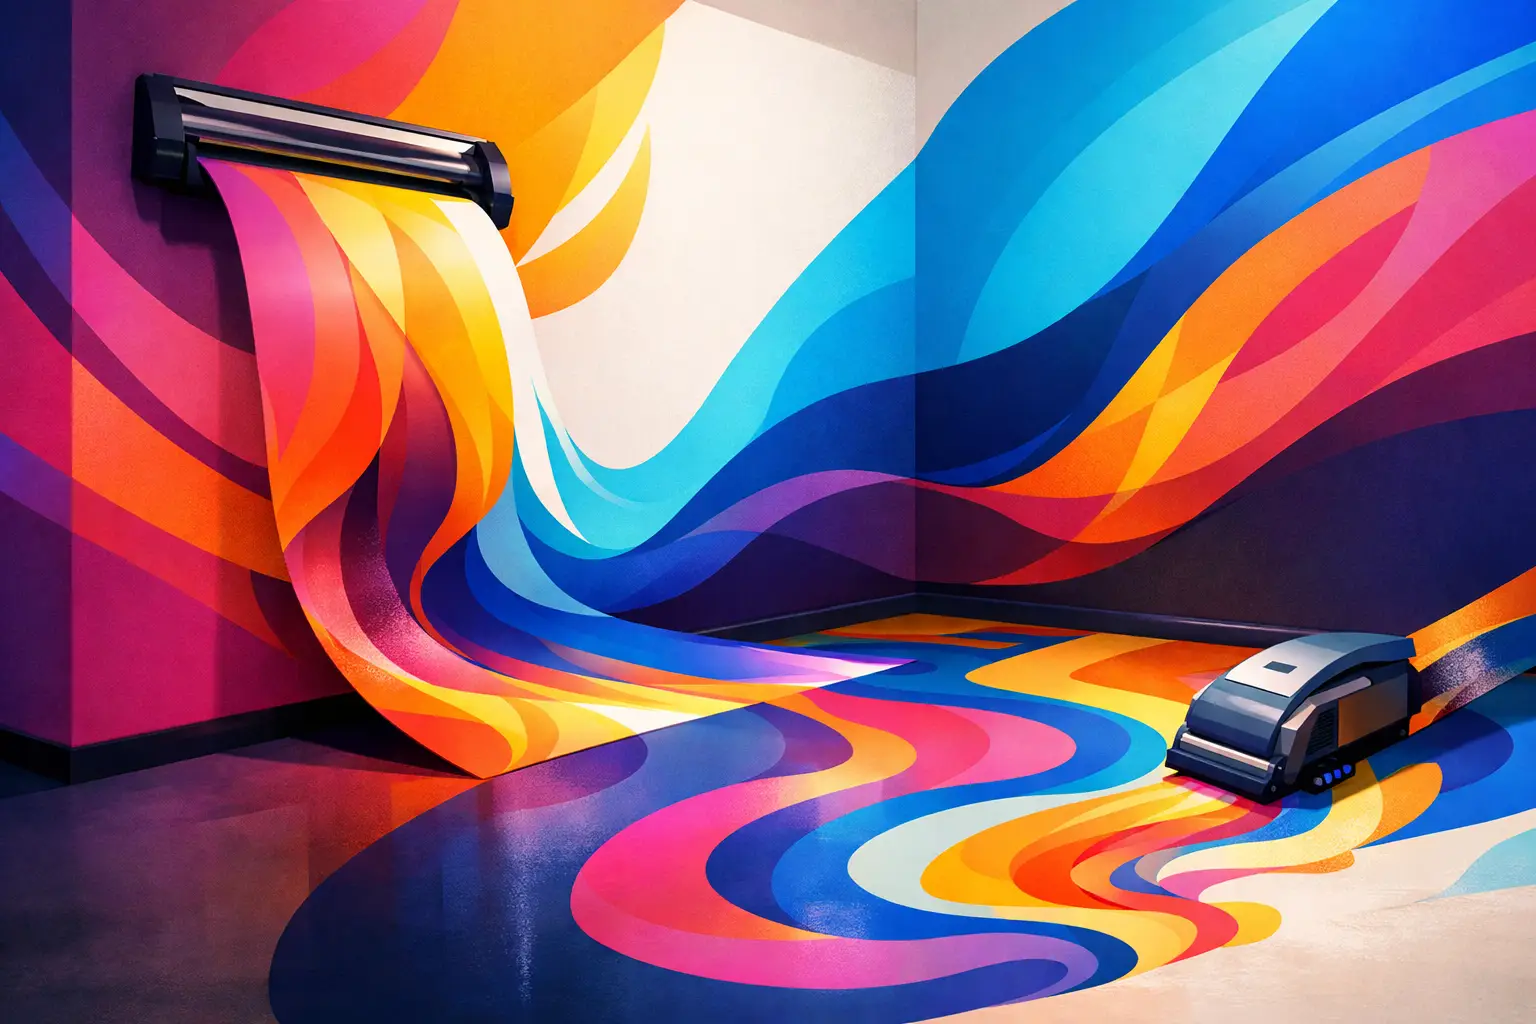
A blank wall can become a brand moment, a childs imagined world, or the focal point that finally gives a room its identity. Learning how to do custom printing starts with a simple shift in thinking: the surface is not just a backdrop. It is part of the design.
For walls and floors, custom printing is more than placing an image on a material and applying it later. Direct-to-surface printing uses specialized equipment to reproduce artwork precisely where it will live. The process can create high-impact murals, logos, directional graphics, decorative accent walls, and floor applications without relying on generic wallpaper or pre-made decals.
How to Do Custom Printing for Interior Surfaces
The strongest projects begin with the intended result, not the printer. Before choosing colors, images, or finishes, decide what the printed surface needs to accomplish. A retail wall may need to reinforce a visual identity from across the room. A boardroom graphic may need to look refined at close range on video calls. A residential mural may need to bring warmth and personality without making the room feel crowded.
Scale matters just as much as artwork. A photo that looks sharp on a laptop can lose detail when enlarged across a 12-foot wall. Conversely, an image designed with large, simple forms may feel underwhelming in a small entryway. Consider viewing distance, lighting, furniture placement, and the edges of the printable area before finalizing the concept.
For commercial spaces, practical requirements belong in the early conversation. Wayfinding should be readable at a glance. Brand colors should be reproduced accurately. A floor graphic must be positioned where it supports foot traffic rather than creating visual clutter. When the purpose is clear, the design has a better chance of performing as well as it looks.
Start With a Print-Ready Design File
Good custom printing depends on the quality of the source artwork. Large-format output reveals issues that may be invisible on a screen: soft imagery, jagged logos, inconsistent color, and poorly defined edges. The file should be prepared at the final print dimensions whenever possible.
Vector files are ideal for logos, typography, icons, and line-based artwork because they can scale without becoming pixelated. High-resolution raster files work well for photography, painted artwork, and textured illustrations, provided they contain enough image data for the final size. A professional print provider can assess whether an existing file will hold up or needs optimization before production.
Do not assume a file labeled high resolution is ready for a feature wall. Resolution is only one part of the equation. The images original dimensions, compression, color profile, contrast, and cropping all affect the result. A properly prepared file preserves detail while allowing the printer to place graphics cleanly around corners, outlets, trim, doors, and architectural features.
Design for the actual surface
A wall is rarely a perfect rectangle. Measure its width and height, then identify baseboards, windows, electrical plates, wall-mounted displays, sprinklers, and other elements that interrupt the printable field. These details should be considered in the artwork layout rather than treated as an installation-day surprise.
For a branded office wall, that may mean centering the logo within the unobstructed viewing area instead of the walls physical center. For a residential mural, it may mean moving a key character or focal detail away from a light switch. Small adjustments at the file stage protect the finished look.
Prepare the Wall or Floor Before Printing
Even the best printer cannot compensate for an unstable, dirty, or damaged surface. Surface preparation is where long-lasting, premium work separates itself from a quick visual fix.
Walls should be clean, dry, and structurally sound. Loose paint, flaking areas, deep texture, moisture damage, and fresh patches require attention before printing. Direct wall printing performs best on smooth, properly cured surfaces. If the wall has a heavy knockdown texture or extensive damage, the design may still be possible, but fine details and crisp edges can be affected.
Floors require an even more careful assessment. They need to be clean, dry, and suitable for the intended traffic level. The print location, existing finish, cleaning routine, footwear, rolling equipment, and exposure to moisture all influence the right solution. A decorative floor graphic in a low-traffic showroom has different demands than directional graphics near a busy entrance.
This is one of the key trade-offs in custom printing: the most ambitious design is not always the best design for the existing surface. A knowledgeable provider will identify limitations early and recommend a practical path that protects both appearance and durability.
Choose the Right Printing Method and Ink
Not every custom print belongs on vinyl, paper, fabric, or a rigid panel. Direct-to-surface printing is especially effective when the goal is to make graphics feel integrated with the space rather than applied on top of it. It is well suited to feature walls, murals, business logos, hospitality visuals, educational environments, and interior wayfinding.
For indoor projects, low-VOC inks are an important consideration. They support a more comfortable installation process in homes, offices, retail spaces, and other occupied environments. Print quality also matters. High-resolution output, including up to 1440 DPI where appropriate, helps retain fine details, smooth gradients, and sharp text.
The right approach depends on the project. A full-wall landscape may benefit from photographic detail and subtle color transitions. A bold restaurant logo may rely on solid color fields and clean vector edges. A floor application needs a material and finish strategy appropriate to the surface and expected wear. There is no single best method apart from the one that matches the location, design, and use case.
Test Color, Scale, and Placement Before Production
Screens are useful for design, but they are not a final color reference. Monitor settings, room lighting, and the walls base color can all change how a printed image is perceived. When brand colors, skin tones, or subtle neutrals are central to the design, a sample or proof can prevent costly surprises.
A site review also verifies the physical realities of installation. This is the time to confirm wall measurements, surface conditions, power access, obstacles, and the best setup path for equipment. For businesses, it may also mean planning installation around operating hours to minimize disruption.
Placement should be intentional. A mural that begins too high can feel disconnected from the room. A logo positioned behind a reception desk may be partially hidden from visitors. Floor graphics should guide movement naturally and remain legible without asking people to stop and study them. Precision in placement is often what makes custom printing look built into the environment.
Let Installation Follow a Disciplined Process
Once the design and surface are approved, the installation should be controlled and methodical. The printing equipment is aligned to the surface, the artwork is calibrated, and the output is monitored as the image is built across the wall or floor. This process requires accuracy because minor alignment errors become more visible over large areas.
Direct printing can reduce some of the challenges associated with applying long wallpaper panels or large vinyl decals. There are no seams to line up in the same way, no adhesive layer to manage, and no need to store or transport oversized printed panels. That said, it is still a specialized service. Surface condition, artwork preparation, and operator skill directly shape the final result.
After printing, inspect the work from both close range and normal viewing distance. Check color consistency, edge quality, alignment, readability, and any areas around architectural interruptions. A proper final inspection ensures the project meets the intended standard before the space returns to regular use.
Make Custom Printing Work Harder for Your Space
The best custom graphics do not simply fill an empty surface. They create a response. They help customers recognize a business, make employees feel connected to a workplace, add direction to a busy environment, or give a home a visual detail that cannot be found in a big-box store.
For property owners and businesses in Kitchener, Waterloo, Cambridge, and Guelph, a professional consultation can turn an early idea into a print plan that accounts for file quality, surface readiness, scale, installation conditions, and long-term appearance. Inkling Labs approaches each project with that level of care, from artwork optimization through final inspection.
Choose a surface with a purpose, prepare it properly, and give the design room to speak. That is how a custom print becomes a statement rather than just decoration.